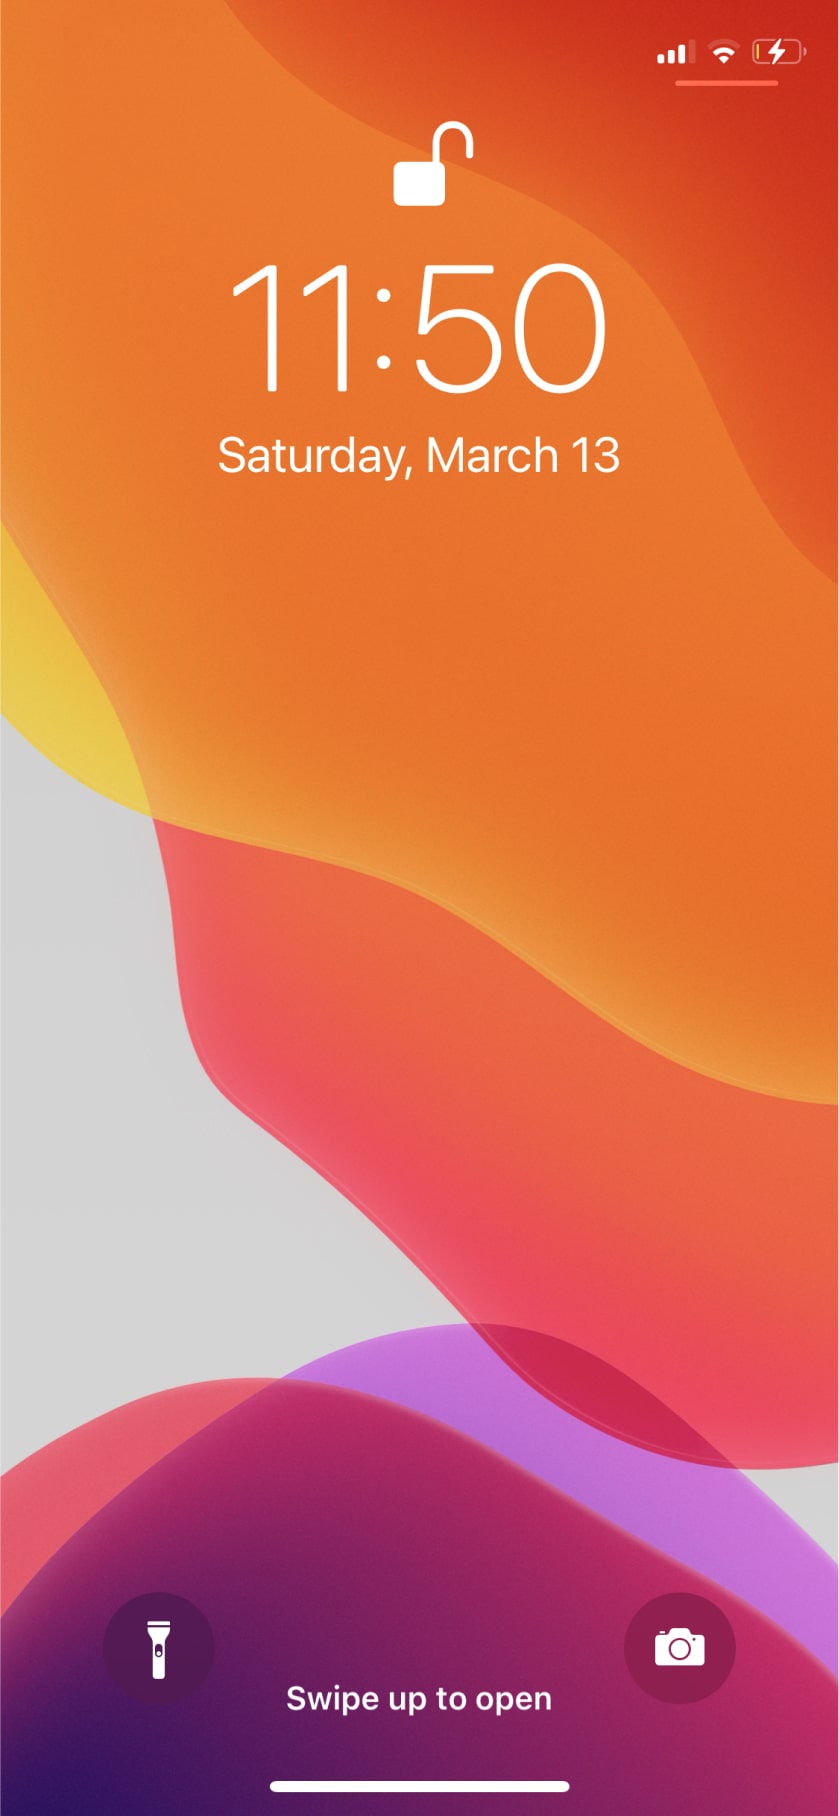
Upload Instructions

Effective date: Sep 1, 2020

How to upload for Seize photographers

Capturing photos via smartphone

After the client has been led through the payment screen, they will present you with a QR code.

  • If you choose to shoot within the Seize app, you can scan the QR code and start shooting. All photos will appear in real-time in their account.
  • If you choose to shoot with the native camera app, you will select "Upload Photos" and then scan their QR code. After this, you will be taken to a screen that will ask you to upload photos. You can exit the app, but don't press "end session". Only press this when you have uploaded all photos. You can proceed with taking the photos on any camera app on your phone. After you are done shooting, return to the app and press upload photos. If you don't see the upload option, please go to "active gigs" in the left side menu. You will then be able to upload photos. Upload the best 2-3 photos first so they will be able to see them immediately. Then you can tell them the rest will be there within an hour. Finish uploading the rest 30 at a time.

Capturing photos via non-smartphone device

If you are shooting with a device that is not a smartphone, you will have to do a few extra steps.

  • If you are shooting with a non-smartphone device, you will select "Photographer Mode" -> "Non-Smartphone Camera" and then scan their QR code. After this, you will be taken to a screen that will ask you to upload photos. You can exit the app, but don't press "end session". Only press this when you have uploaded all photos. You can proceed with taking the photos on your non-smartphone device.
  • Upload Via Phone: After the shoot, upload the photos to your phone gallery. You can do this by using an adaptor, a computer, or over wifi; depending on your device. After getting them to your smartphone, you can proceed with the regular upload. Return to the app on your phone. Navigate to "Active Client Sessions" in the left side menu. You will then be able to upload photos to your client's session. Upload the best 1-2 photos first, so your client will see them first. Finish uploading the rest 10 at a time.
  • Upload Via Computer: After the shoot, upload the photos to your computer. Navigate to this webpage: https://seizetheapp.web.app/, and log in. Once you are logged in, press "Profile" then "Active Client Sessions". You should see your active sessions show up. Click on a session, and upload the photos 10 at a time. Refresh the page periodically to see the photos already uploaded. When you are done, press "End Session". You will not be able to upload photos after you click "End Session".

For all methods - it starts with the customer paying and scanning their QR code. This is always the first step.

You are required to upload the photos to the client's account within 12 hours of the session. Please be prepared in advance to do this. No google or dropbox drives will be accepted and a part of the gig is uploading the photos.

If you have any issues please email us directly at photography@seizetheapp.io or text us at (202) 900-3083.